How to Use a Circular Saw: A Beginner's Guide
Depth, support and stance decide whether a circular saw cuts cleanly or kicks back at you. Here is the whole sequence, plus the $43.77 accessory that costs 74 percent of a $59.00 saw and is still worth it.

- Category
- Saws & Cutting Tools
- Tools tested
- 3
- Read time
- 13 min
- Updated
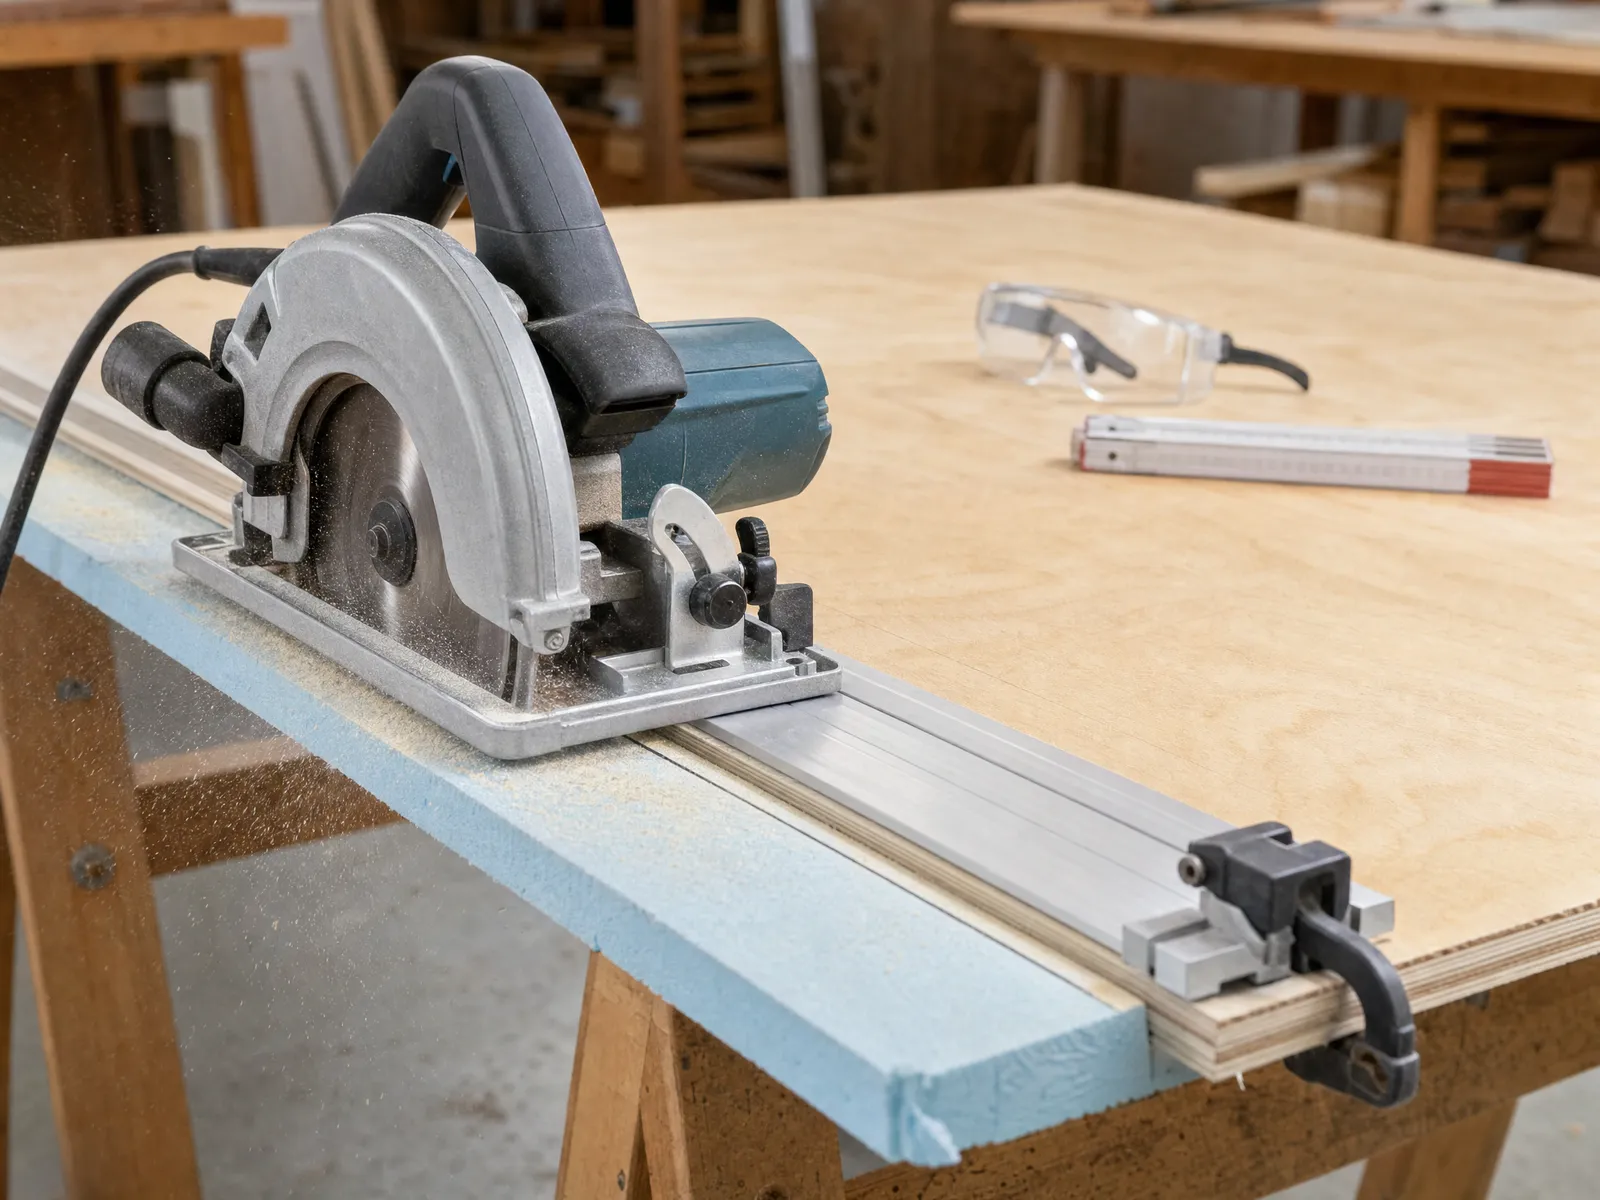
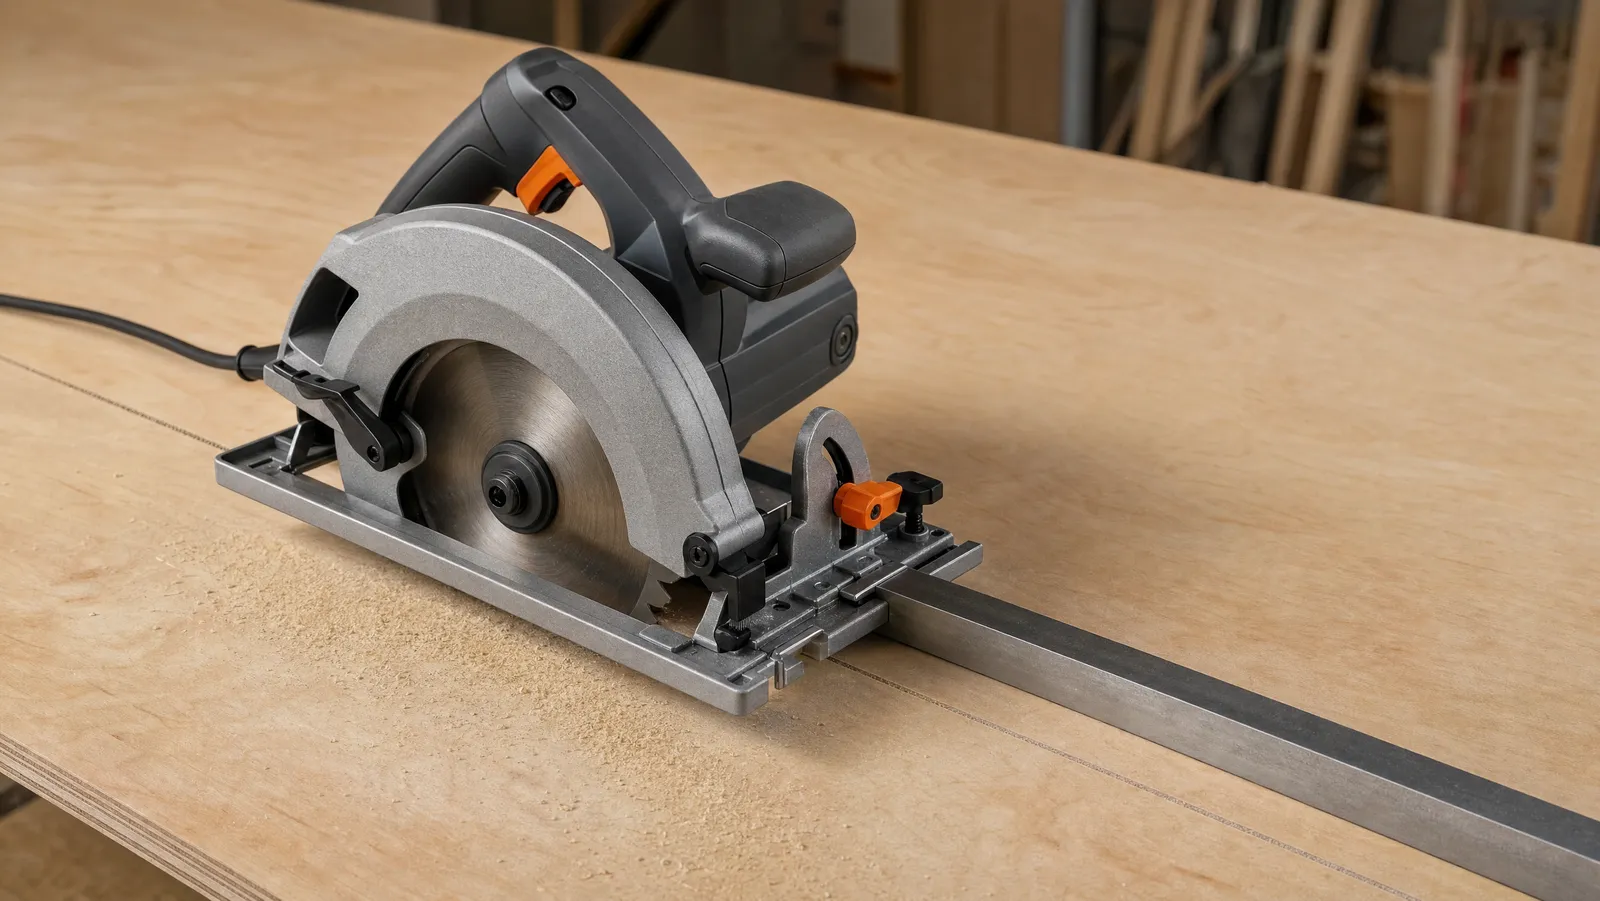
To use a circular saw, set the blade shallow - the widely taught guideline is about a quarter inch past the underside of the board - support the work so the offcut can fall free, mark your line and clamp a straight edge to guide the shoe, then cut with the shoe flat, both hands on the saw and your body to one side of the blade rather than behind it.
Most guides on how to use a circular saw stop at that sequence, and the sequence is the easy part. What separates a clean cut from a ruined board is three decisions made before the trigger: how deep the blade runs, how the wood is held up, and where you stand when something binds. If you have not bought the saw yet, start with choosing a saw for DIY.
What you need before the first cut
Five things, and only one of them is the saw.
- A corded or cordless circular saw. A 7-1/4 in. saw is the common size and clears a 2x4 laid flat in one pass.
- A sharp blade. Not the blade that has been in the saw since 2019.
- A clamping straight edge, or a straight board and two clamps.
- Eye and ear protection. According to NIOSH researchers Charles Hayden and Ed Zechmann, the agency recommends that noise exposure "should be reduced to 85 dBA for an 8 hour period to protect hearing" - and their study found tools cutting material ran 4.1 dBA louder than the same tools running free.
- A way to support the work that is not your knee.
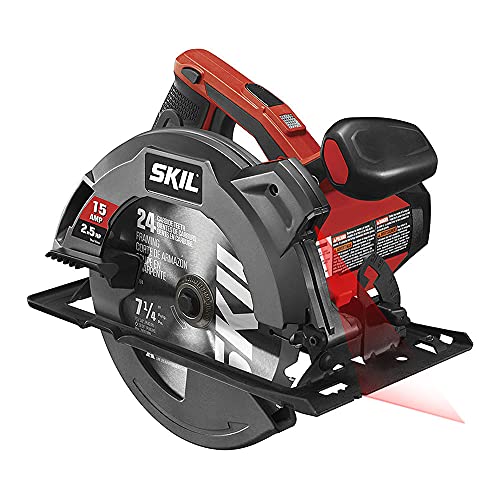
SKIL 5280-01
A full-size 15-amp corded saw with a spindle lock, a dust blower and a guarded trigger - the features that matter when you are still building habits.
Pros
- Spindle lock makes the blade change in this article a one-wrench job
- Dust blower keeps the cut line visible, which is most of cutting straight
- Guarded trigger and a safety lock reduce accidental starts
- Corded, so there is no battery to run down mid-cut while you are learning
Cons
- The single-beam laser is no substitute for watching the blade against your line
- Corded means managing a cord away from the blade path
- 51 degrees of bevel is more than most DIY work ever needs
We would learn on a corded saw, and the SKIL 5280-01 at $59.00 as of October 2026 shows why. SKIL lists a 15-amp motor, 5,300 RPM, an included 7-1/4 in. carbide-tipped blade, a spindle lock, a dust blower and a safety-lock trigger with a power-on indicator. Two of those matter to a beginner: the spindle lock makes a blade change a one-wrench job, and the dust blower keeps your cut line visible.
It also carries a single-beam laser. Treat that as a convenience rather than an accuracy feature - the advice here is to watch the blade's teeth against your pencil line. For how this saw ranks against the field, see our guide to the best circular saw for DIY.
Add those up and the saw is just over half the bill. The $43.77 guide is 74 percent of the $59.00 saw - the honest lesson of a first setup. The accessory that fixes your cuts costs nearly as much as the tool, and is still the better of the two buys.
Step 1: Set the blade depth
This is the setting beginners get wrong, and it is upstream of everything else: cut quality, how hard the saw works, and how much blade is exposed.
According to This Old House, you should "lock the saw at a depth that leaves the lowest tooth no more than about 1/4 inch beneath the wood," with its steps putting the window at 1/8 to 1/4 in. below the material. The same guide warns that "a blade that's set too far below the material being cut increases the risk of kickback." Treat that quarter inch as a widely taught guideline, not a specification, and check your own manual.
Why so shallow? A shallow blade has fewer teeth engaged in the wood at once, so the saw is less able to grab and climb - and the blade below the board is the part you can neither see nor guard.
Setting it takes ten seconds. With the saw unplugged, loosen the depth lever behind the shoe and stand the saw on the edge of the board, shoe flat, blade hanging alongside the stock rather than over it. Swing the shoe until the lowest tooth sits about a quarter inch below the board's bottom face, lock the lever, then wiggle the shoe to check it is tight.
Step 2: Support the work so the offcut can fall
Here is the mechanism behind most beginner kickback, and it has nothing to do with the saw.
Lay a board across two sawhorses and cut between them. As the kerf opens, both halves sag and the slot closes on the back of the blade. The blade is still spinning forward, so it does what any spinning wheel does against a surface that grips it: it climbs out, and the saw travels back toward you.
Manufacturers name the same thing. According to Bosch's circular saw safety instructions, kickback happens "when the blade is pinched or jammed tightly by the kerf closing down." This Old House puts the beginner version plainly: "Never prop up the offcut, or the material will buckle and bind the blade, causing dangerous kickback."
So the rule is not "support the board." It is support it so nothing can pinch the blade, and let the offcut go:
- Cutting a board? Support the keeper side and let the offcut hang past the end, free to drop. An offcut hitting the garage floor is the correct, boring outcome.
- Cutting a sheet? Support it everywhere instead. Bosch's panel guidance: supports "must be placed under the panel on both sides, near the line of cut and near the edge of the panel" - a full platform, in other words.
- The cheap platform: rigid foam insulation. A tip published by Popular Woodworking lays a full sheet of 2 in. rigid foam across two sawhorses, clamps the plywood on top, and sets the blade to cut "no more than 1/8 inch or so into the insulation board." Without it, the writer notes, you need three or four horses to keep offcuts from binding the blade; sacrificial 2x4 sleepers do the same job with more setup.
If the wood has to be held, it has to be clamped - never a hand on the workpiece and never a knee on the board you are cutting.
Step 3: Mark the cut and set up a guide
Cutting straight is a setup problem, not a steady-hands problem. Nobody freehands a straight 8 ft cut.
Mark the length first - a tape measure read carelessly is the error you chase through a whole project, and the hook, the burn inch and the body-length trick are covered in how to use a tape measure like a pro. Then square the line across the board with a speed square; how to use a speed square covers marking a square crosscut and using the square as a short saw guide.
Now the guide. Your saw cuts a fixed distance from the edge of its shoe - the offset. Measure it once, write it on the shoe in marker, and clamp your guide that far from the line on the keeper side.

ProGrip 36 in.
A clamping straight edge does in one step what a clamped board and a tape measure do in four - it is the single accessory that most improves a beginner's cuts.
Pros
- Clamps itself down, so both of your hands stay on the saw
- No measuring offsets once you learn where your saw's shoe edge sits
- Doubles as a router guide
- Far cheaper than a track saw for the same straight-cut problem
Cons
- At 36 in. it will not guide a full-length cut across an 8 ft sheet
- Publishes no usable cut length or clamping capacity
- You still have to set the offset from the blade to the shoe edge correctly, once
A clamping straight edge replaces the board-and-two-clamps routine with one movement, which is why we rate it the best accessory a beginner can add. The ProGrip 36 in. guide is $43.77 as of October 2026, clamps without separate C-clamps, and doubles as a router guide.
Two honest limits. The listing publishes a 36 in. overall length but no usable cut length - the clamp heads occupy part of the rail, so the guided cut is shorter than 36 in. No clamping capacity figure is published either. For an 8 ft cut: a long straight board, a factory-edge offcut or a track saw.
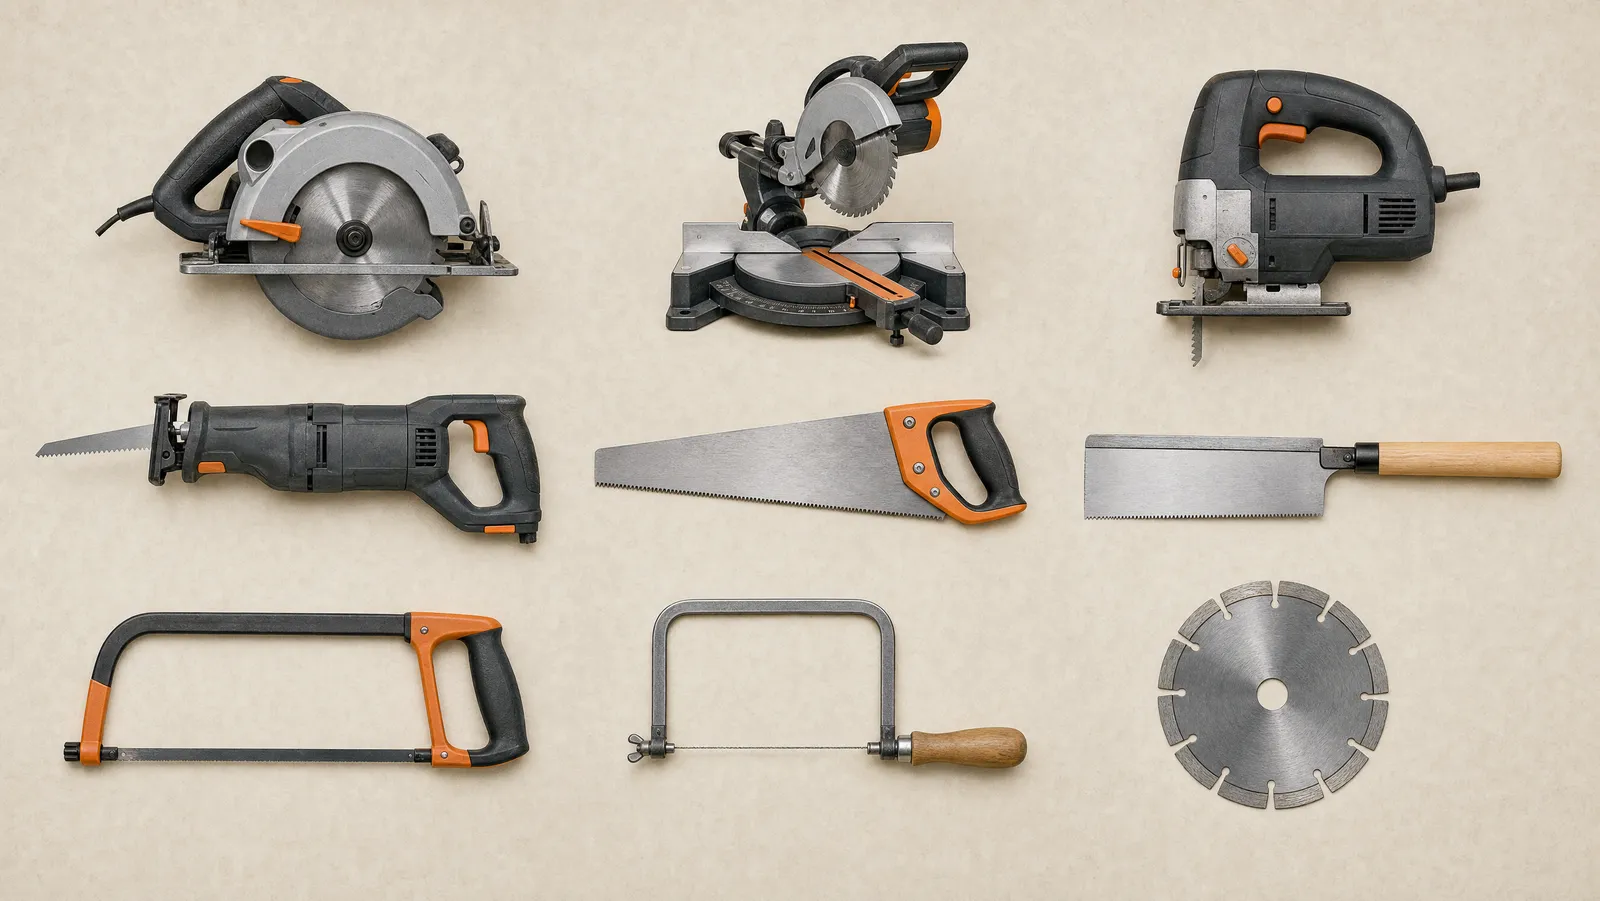
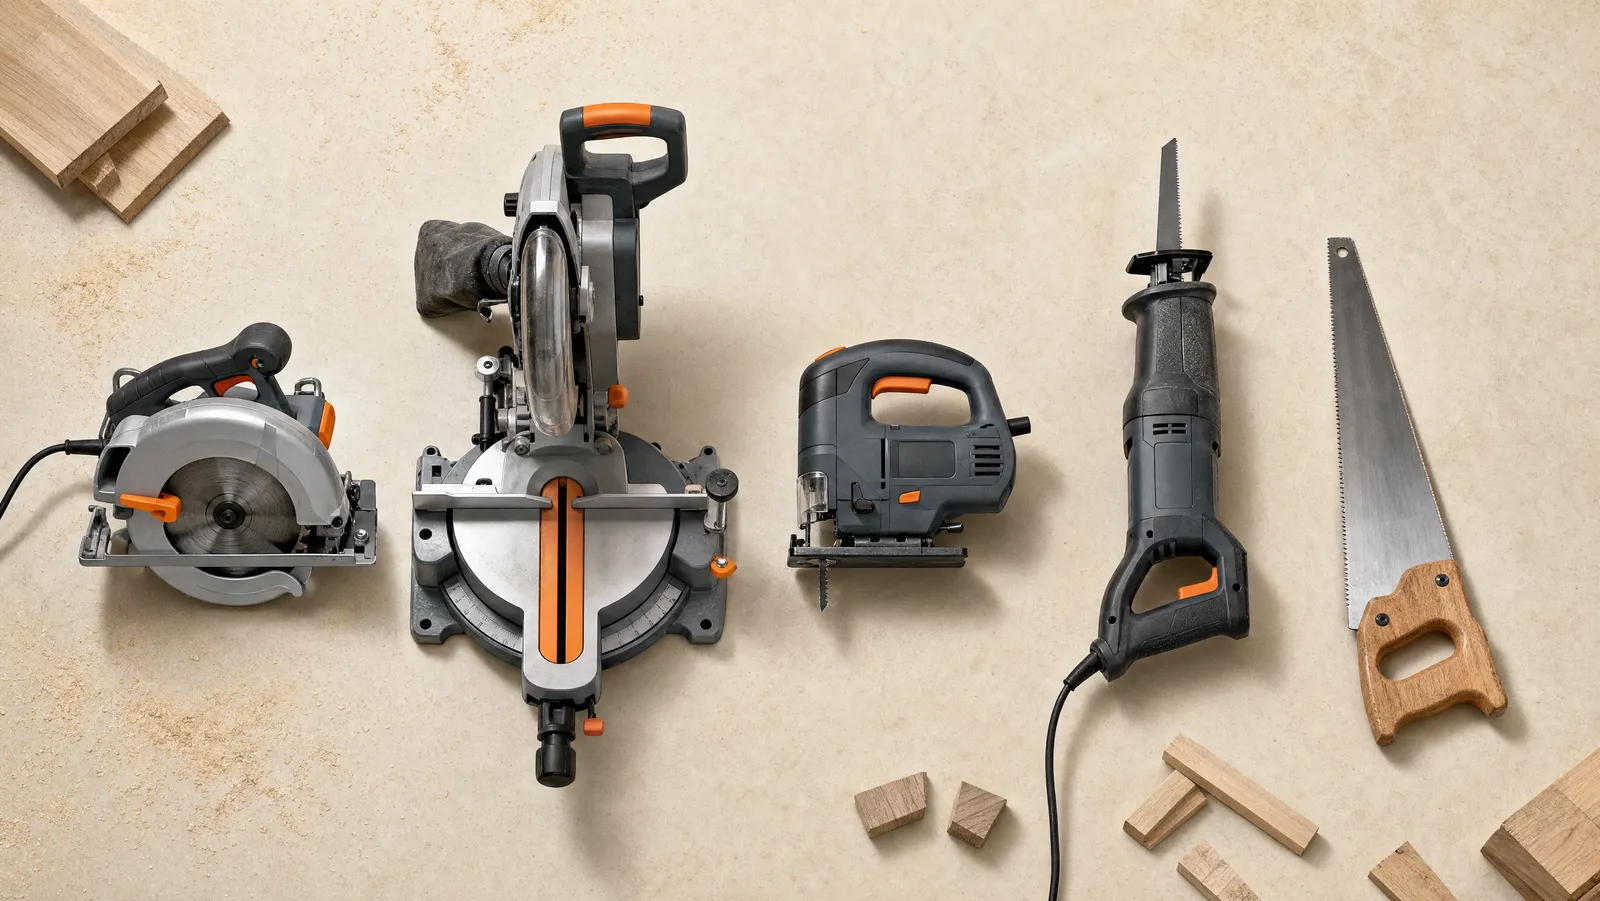
One aside: thirty identical crosscuts are miter saw work, and best miter saw for DIY is the comparison worth making first. If the cuts you need are curves or demolition, types of saws explained covers the jigsaw and reciprocating-saw ground a circular saw cannot reach.
Step 4: Stance, grip and the cut itself
Body position is the free safety feature nobody adjusts.
According to Bosch's safety instructions, you should "hold the power tool firmly with both hands and make sure you have a stable footing," "position your arms to resist kickback forces," and "position your body to either side of the blade, but not in line with the blade." It is blunt about the other common injury too: "Do not reach underneath the workpiece. The guard cannot protect you from the blade below the workpiece."
Read that second quote twice: the reflex to catch a falling offcut is the reflex that puts a hand under a spinning blade.
The cut itself, once depth, support and guide are set:
- Set the front of the shoe flat on the board, blade clear of the wood, line visible.
- Squeeze the trigger and let the motor reach full speed before the teeth touch wood.
- Advance steadily, watching the blade against the line - not the laser, not the shoe notch.
- Let the sound set your feed rate; a bogging motor means you are outrunning the chips.
- Run the saw out of the cut before lifting it, and let the blade stop before you set it down.
If the blade binds mid-cut, Bosch's instruction is to "release the trigger and hold the saw motionless in the material until the blade comes to a complete stop," and never to "remove the saw from the work or pull the saw backward while the blade is in motion." Restart with the blade centred in the kerf.
Kickback: what causes it and how to stay out of its way
Kickback is not one event with one cause, and no checklist makes a saw safe. These are the mechanisms a manufacturer and a regulator name, not a guarantee - read the manual that came with your own saw.
The causes you control. Bosch's list is the pinched or jammed blade, the kerf closing down, and a blade "twisted or misaligned in the cut." In plain terms: a sagging board, a dull or pitch-caked blade, a shifted guide, or a saw pushed off its line. Depth and support remove most of it.
The guard is the backstop. Under OSHA's hand and portable powered tool standard, 29 CFR 1910.243(a)(1)(i), portable power-driven circular saws with a blade diameter greater than 2 in. must have guards above and below the base plate or shoe, and "when the tool is withdrawn from the work, the lower guard shall automatically and instantly return to covering position."
So watch the lower guard snap shut at the end of every cut. If it hangs up or closes slowly, the saw needs cleaning or service. Do not hold it open, tie it back, or keep cutting with a guard that no longer returns on its own.
Where you stand. Stay out of the line the saw would travel if it did come back - to one side of the blade, as Bosch puts it, not behind it. Route the cord over your shoulder, never across the board in front of the blade.
The blade you start with
The blade in the box is usually fine to learn on, and usually not what you want for finish work.
According to home-improvement columnist James Dulley, a 24-tooth blade is "the most common blade supplied with new circular saws" and "a good compromise for many cutting jobs," giving a reasonably smooth rip cut while "the crosscut (across the grain) will be quite rough." For plywood he recommends 40 or more teeth to minimise tear-out, and 60 or 80 teeth for veneered plywood.
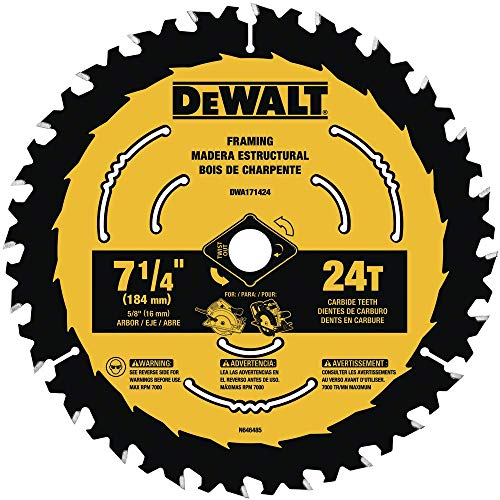
DEWALT DWA171424
Under $10, with a reinforced shoulder for nail-embedded wood - the blade to practise on, so you are not learning depth settings with an expensive finish blade.
Pros
- Cheap enough that practice cuts and hidden nails do not matter
- 24 teeth clear chips fast, which is the forgiving choice while you learn feed rate
- Reinforced shoulder tolerates nail strikes in reclaimed lumber
- Anti-stick coating slows pitch build-up
Cons
- Leaves visible tear-out in plywood - not a finish blade
- DEWALT publishes no kerf figure, only 'thin kerf design'
That is the case for a cheap 24-tooth spare. The DEWALT DWA171424 is $9.98 as of October 2026, down from a $10.48 list, with 24 teeth, high-density tungsten carbide, an anti-stick coating and a reinforced shoulder for nail-embedded wood. DEWALT calls it a "thin kerf design" and publishes no kerf measurement, so we will not quote one.
Practise depth and feed rate on a ten-dollar blade that does not care about a hidden nail, and buy a 40-tooth blade before you cut anything that will be visible. Which blade suits which material gets its own treatment in how to choose a circular saw blade.
Common beginner mistakes
- Running the blade at maximum depth. More exposed blade, more teeth in the cut, more to grab.
- Cutting between two sawhorses. The halves sag, the kerf closes, the saw comes back. Let the offcut overhang, or support the whole sheet.
- Catching the offcut. That is the hand that ends up under the blade. Let it fall.
- Trusting the laser or the shoe notch instead of watching the teeth meet your pencil line.
- Lifting or pulling back mid-cut. Release the trigger, hold still, let the blade stop, then reset in the kerf.
Get depth, support and stance right and the rest is practice - the saw stops feeling like a risk after about a dozen cuts. For where a circular saw fits among the other saws worth owning, read on in our complete saw guide.
Frequently asked questions
Is a circular saw good for beginners?
Yes - it is the first power saw most people should own, because it crosscuts framing lumber and breaks down sheet goods. How to use a circular saw for beginners comes down to three habits: set the blade shallow, support the work so the offcut falls free, and stand to one side of the blade.
What is the easiest circular saw to use?
The easiest circular saw to use is a full-size corded one with the small conveniences: a spindle lock so blade changes need one wrench, a dust blower that keeps the cut line visible, and a safety-lock trigger. SKIL lists all three on the 5280-01, $59.00 as of October 2026 - and corded means no battery dying mid-cut.
How deep should a circular saw blade be set?
According to This Old House, lock the saw so the lowest tooth sits no more than about 1/4 in. beneath the wood, with 1/8 to 1/4 in. as the working window. It is a guideline, not a spec - check your own manual. Deeper settings put more blade in the cut and, per the same guide, raise kickback risk.
How do you cut a straight line with a circular saw?
Clamp a guide; do not try to steer. Measure your saw's blade-to-shoe-edge offset once, clamp a straight edge that distance from your line on the keeper side, and run the shoe along it. A clamping guide like the ProGrip 36 in. does it in one movement, though it will not reach across a full 8 ft sheet.
About the Author
Cheryl Thompson
Cheryl Thompson is the tools editor at The DIY Tool Review. A lifelong fixer and self-confessed tool addict, she has spent years buying, borrowing and wearing out hand and power tools across home renovation, furniture building and everyday repairs. She writes hands-on, no-nonsense reviews to help fellow DIYers spend their money on the tools that actually last.