The Best Stud Finders for DIY (2026)
Multi-sensor stud finders are a genuinely different class of tool from the single-sensor models most people own and curse at. Here are the six we'd buy, what each one actually detects, and why plaster walls defeat nearly all of them.

- Category
- Measuring & Layout
- Tools tested
- 6
- Read time
- 17 min
- Updated
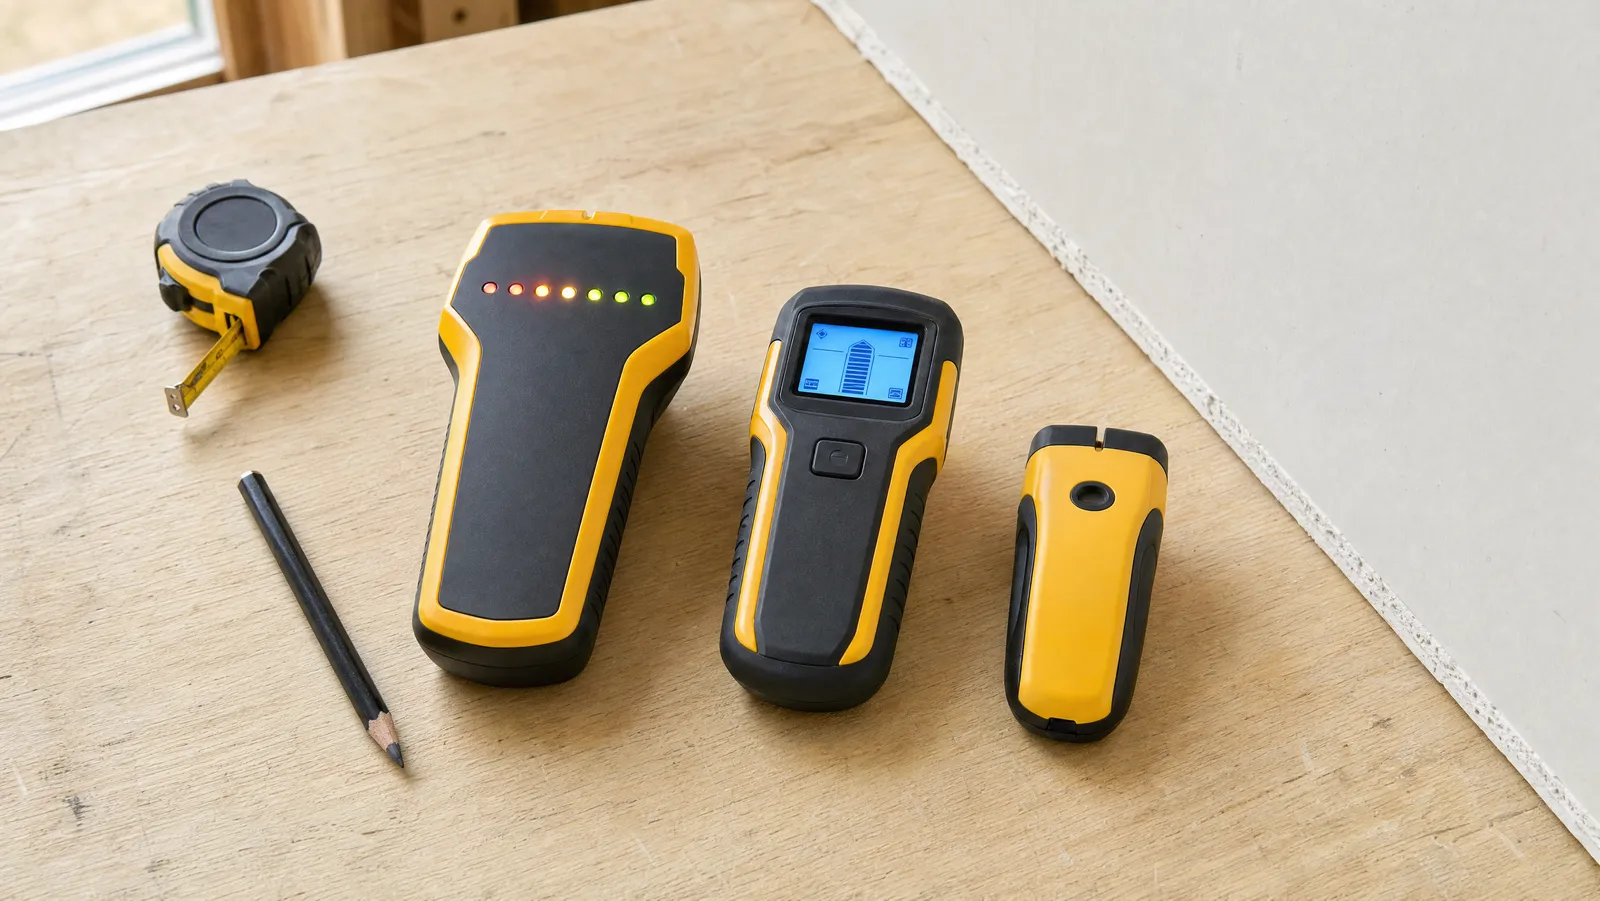
The best stud finder for most DIYers is a multi-sensor model: the Franklin ProSensor M150 at $39.97 as of August 2026, or the 13-sensor M210 if your walls are thick. Both light up the whole width of a stud at once instead of beeping vaguely somewhere near an edge, and that difference is the entire story of this category.
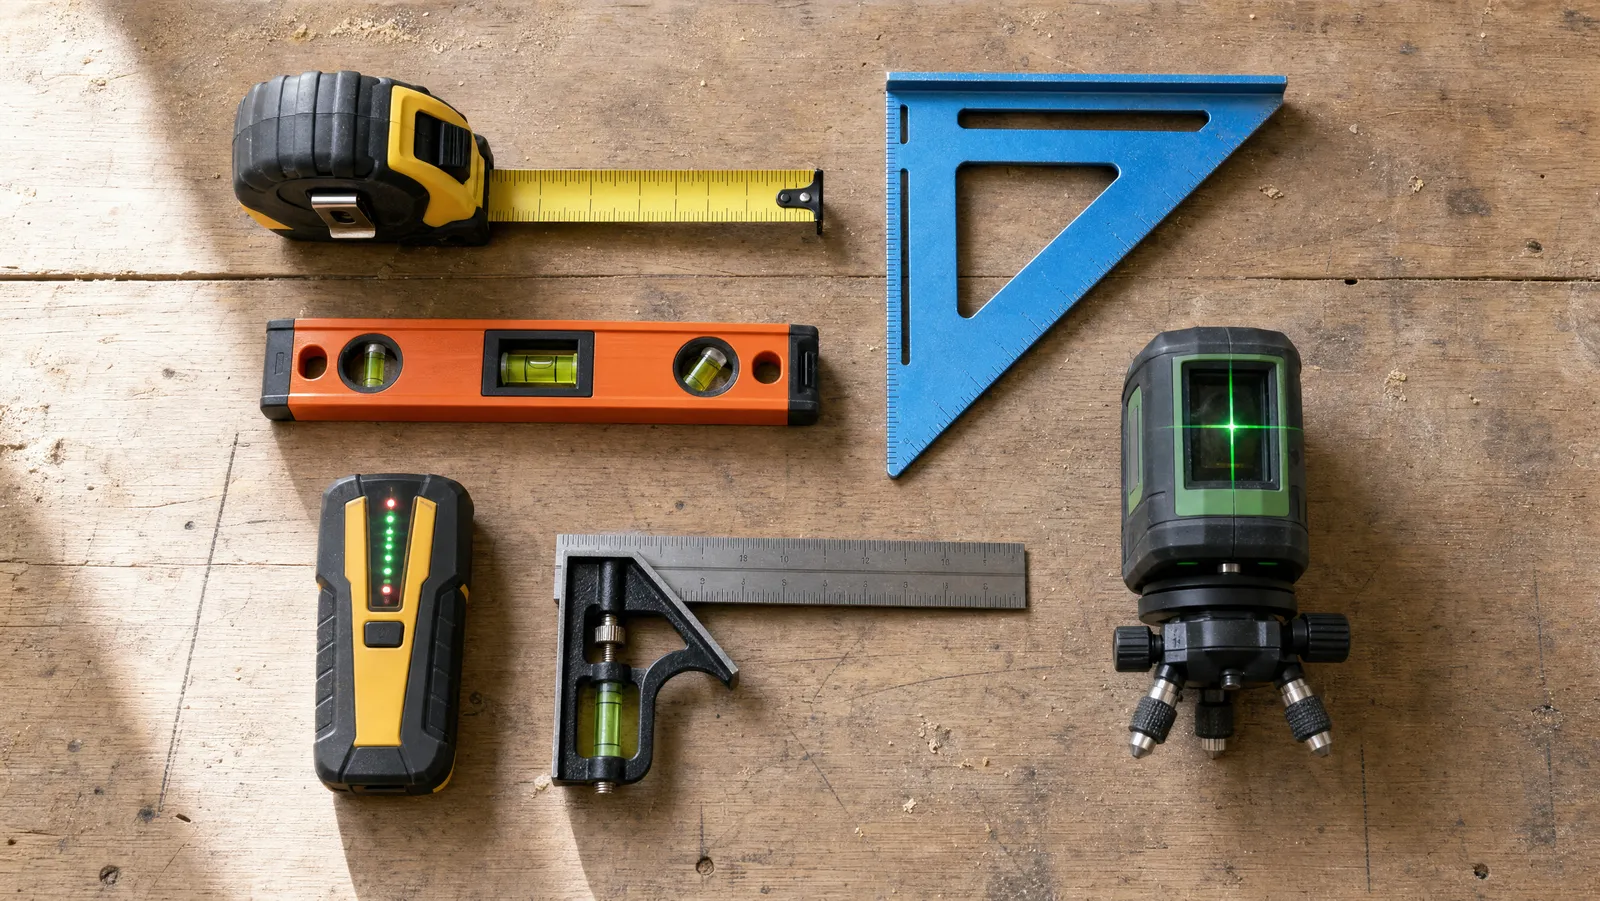
Anyone who has hung a heavy mirror knows the routine: sweep left, beep, sweep right, beep, mark four contradictory pencil lines, drill, hit nothing, drill again. That is not your fault. It is what a single-sensor edge finder is, and no amount of technique fixes it. This guide sorts six finders into the ones that solve that problem and the ones that only make it cheaper. It sits inside our wider guide to measuring and layout tools for DIY, the marking-out kit that decides whether a job goes up straight.
How we picked
We have not tested these tools and we will not pretend otherwise. Our selection is based on published manufacturer specifications, current price and availability, and how each tool's stated detection depth lines up with the walls people actually own.
We also do not publish star ratings or review counts: our product data source does not supply them, so you will not find a rating anywhere in this article. Where a depth or a sensor count appears, it is the maker's own figure and we say whose.
Two things drove the ranking. Detection depth, because a 3/4 in sensor is beaten by two layers of board or a coat of plaster. And how the tool reports what it found — an LED array showing a whole stud is a different experience from one light flickering at an edge.
Prices are as of August 2026 and move constantly.
Edge finders vs multi-sensor: the only spec that matters
Nearly every stud finder ever sold works the same way underneath. According to Wikipedia's entry on stud finders, electronic finders use sensors to detect changes in the dielectric constant of a wall — a value that varies with the density and composition of the material behind the surface, so the reading changes when the sensor passes over a stud.
Depth is the limiting factor, and it is worth knowing the honest numbers. Zircon — which per Wikipedia manufactured Robert Franklin's original 1977 capacitive design and held the patent until it expired in 1998 — lists 3/4 in (19 mm) for the standard StudScan mode on its StudSensor line and 1-1/2 in (38 mm) for the DeepScan mode that doubles it. That is a fair picture of the range across the whole category.
The difference between a $12 finder and a $60 one is not the physics. It is how many of those sensors look at the wall at the same time.
A conventional finder has one sensor, or two. It cannot see a stud; it only notices the moment the reading changes as you drag it across one. So it reports an edge: sweep from the left until it beeps, mark, sweep from the right, mark, split the difference. And if you began that sweep while already sitting over a stud, the calibration is wrong and every reading after it is wrong too. That is the failure mode people blame themselves for.
A multi-sensor finder puts an array of those sensors in a row and reads all of them at once. According to Pro Tool Reviews' coverage of Franklin's ProSensor line, the tool scans multiple points across the wall simultaneously and lights the indicators directly above whatever it finds. The shape of the lit LEDs is the shape of the thing behind the plasterboard: three lights for a single stud, a wider block for a doubled stud at a corner. Between the two Franklins here and everything else on this page, the gap is not "a bit better". It is a different job.
Magnetic vs electronic stud finders
There is a third kind of tool worth knowing about, because it is cheap and there is very little in it to go wrong. According to Wikipedia's stud finder entry, magnetic finders do not detect the stud at all — they detect the metal fasteners, such as nails or screws, used to secure wallboard to studs. No batteries and no calibration.
The catch is equally simple. Wikipedia notes that magnetic finders work on the assumption that fasteners are driven into the centre of studs, "although this is not always accurate" — so if the drywall crew missed the stud with a screw, your magnet leads you faithfully to the same miss. Any other ferrous metal in the wall, from corner bead to a pipe strap, will pull on it too. And it tells you nothing about stud width, pipes or wiring.
Our view: a magnet is a fine second opinion and a terrible only opinion. Keep one to confirm what an electronic finder tells you. If you are buying a single tool, buy the electronic one.
The picks
Six finders, with the specification that matters and the catch that bites.
Best overall: Franklin ProSensor M210
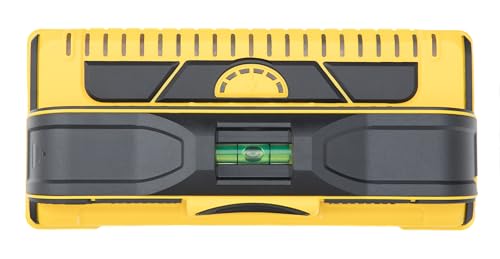
Franklin ProSensor M210
Thirteen sensors light up the full width of a stud at once instead of making you hunt for an edge. Franklin lists deep scan to 1.7 in with automatic adjustment for material, texture and depth, plus a live wire meter.
Pros
- 13 sensors show both edges and the centre at once
- Deep scan to 1.7 in, always on
- No calibration dance before each scan
- Live wire meter built in
Cons
- Most expensive stud finder here
- Needs batteries, none included
This is the one we would buy if the wall mattered. Franklin lists thirteen sensors and a deep scan to 1.7 in that runs automatically, adjusting for material, texture and depth without you selecting a mode. Set that against the 3/4 in Zircon lists for a standard-mode capacitive scan and you can see what you are paying for: depth enough for double drywall, thick skim coats and board-over-board patch jobs that stop cheaper sensors dead. The thirteen-LED array shows both edges and the centre at once, so you get the stud's full width in one placement. Franklin also fits a live wire meter rather than a single warning light, giving proximity instead of a binary alarm.
Two honest catches. It is the most expensive stud finder here at $59.97 as of August 2026, roughly five times the budget picks. And it needs batteries that Franklin does not include — buy them with the tool, or it arrives as an expensive plastic brick.
Best value: Franklin ProSensor M150

Franklin ProSensor M150
The nine-sensor version of the M210 and the sweet spot for most homeowners. Franklin lists a 1-1/2 in maximum detection depth through drywall, one-mode operation with no calibration, and live wire detection.
Pros
- 9 sensors versus the 1 or 2 in conventional finders
- Displays whole studs, doubles and irregular framing
- No calibration - start scanning anywhere, even over a stud
- Live wire detection included
Cons
- Shallower detection than the M210 (1-1/2 in vs 1.7 in)
- Not compatible with rechargeable batteries per Franklin
The M150 is the same idea with nine sensors instead of thirteen, and for most houses it is the smarter purchase. Franklin lists a 1-1/2 in maximum detection depth through drywall and one-mode operation with no calibration step — the part that quietly matters, because you can start scanning anywhere on the wall, including directly over a stud, without corrupting the reading. Live wire detection is included.
Nine sensors still dwarfs the one or two in a conventional finder, and it displays whole studs, doubles and irregular framing rather than pinging at edges. On standard 1/2 in drywall, the M210's extra 0.2 in will rarely change an outcome.
The tradeoffs are narrow: shallower detection than the M210 (1-1/2 in against 1.7 in), which only bites on genuinely thick walls, and Franklin states the M150 is not compatible with rechargeable batteries — feed it disposable alkalines, not the NiMH cells in your drawer. At $39.97 as of August 2026, the Franklin ProSensor M150 is the pick we would put in most readers' hands.
Best multi-mode scanner: Povlen 5-in-1

Povlen 5-in-1 Scanner
Five scanning modes with an LCD readout: three stud modes to 1.5 in, a metal mode to 2.36 in and an AC mode to 2 in, with continuous live-wire alerts in every mode.
Pros
- Metal mode reaches 2.36 in - finds pipe and conduit
- Live wire alerts stay active in all modes
- Backlit LCD shows centre and edge
- Audio alerts as well as visual
Cons
- Sensor scanners need a calibration pass on blank wall
- LCD interpretation takes practice versus an LED bar
If your worry is pipes and conduit rather than stud width, this is the more useful tool. Povlen lists five scanning modes on a backlit LCD: three stud modes reaching 1.5 in, a metal mode to 2.36 in and an AC mode to 2 in, with live-wire alerts that stay active in every mode rather than only in the dedicated one. It gives audio alerts as well as visual, which helps when you are scanning overhead and cannot see the screen.
That 2.36 in metal figure is the headline. Deep metal detection is how you find copper pipe, steel conduit and metal studs sitting behind stud-sensing range — exactly what you do not want a 3 in screw to meet.
Two caveats. It needs a calibration pass on blank wall before each scan, so you must start where you are confident there is no stud — the very thing the Franklins remove. And an LCD takes more interpretation than a bar of lights. At $23.99 as of August 2026, that is a lot of capability if you will learn its habits.
Best 2-in-1: PREXISO stud finder with cross-line laser

PREXISO 2-in-1
Combines a stud finder with a manual-leveling cross-line laser, and projects a vertical laser line at the stud edge it finds. Detects wood and metal to 3/4 in and AC wire to 1-1/2 in.
Pros
- Projects a laser line right at the stud edge it finds
- Rechargeable via USB-C
- 360-degree wall mount for hands-free marking
- Lighted bubble vials readable in the dark
Cons
- Laser is manual-leveling, NOT self-leveling
- PREXISO states it is not designed for lath and plaster walls
- Requires calibration before each stud scan
A clever piece of design: it finds the stud, then projects a vertical laser line right at the edge it found, so marking, levelling and locating happen in one motion. It charges over USB-C, has a 360-degree wall mount for hands-free work, and its bubble vials are lit for a dim garage. PREXISO lists detection of wood and metal to 3/4 in and AC wire to 1-1/2 in.
Three catches, all worth stating plainly. The laser is manual-leveling, not self-leveling: you level it yourself against the vials, and it will happily project a perfectly straight line that is perfectly wrong. PREXISO states the tool is not designed for lath and plaster walls. And it requires calibration before each stud scan. If levelling is the bigger half of your problem, compare it with a dedicated unit in our roundup of the best laser levels for home use before spending $49.99 as of August 2026.
Best budget: CRAFTSMAN CMHT77633

CRAFTSMAN CMHT77633
A simple edge-detection sensor from a name brand for about twelve dollars. Craftsman lists 3/4 in depth through drywall and says it works through wallpaper and fabric.
Pros
- Name-brand tool for around $12
- Works on wallpaper and fabric-covered walls
- Detects edges of both wood and metal studs
- Shock and water-resistant body
Cons
- 3/4 in depth only - no good on thick or double drywall
- Edge detection means two passes to find the centre
Around twelve dollars for a name-brand edge sensor. Craftsman lists 3/4 in depth through drywall, says it works through wallpaper and fabric wall coverings, detects the edges of both wood and metal studs, and describes the body as shock and water-resistant.
An honest tool at an honest price, and the right buy for someone who hangs a picture twice a year. Be clear what you are getting: 3/4 in of depth means double drywall, 5/8 in board or a plaster skim can put the stud out of reach, and edge detection means two passes and a split-the-difference mark every time. At $11.99 as of August 2026, it costs less than the picture hook.
Cheapest: eOUTIL ST100B

eOUTIL ST100B
A four-light edge finder with an audible beep, and the cheapest tool here. eOUTIL lists 3/4 in detection for wood and metal and says it works on lath, wallpaper, wood flooring and acoustic ceilings.
Pros
- Cheapest way to stop guessing
- Four-stage light plus audio as you near an edge
- eOUTIL lists lath and acoustic ceiling among surfaces
- Simple one-button operation
Cons
- Needs a 9V battery that is not included
- No live AC wire detection
The floor of the category, at $11.59 as of August 2026. eOUTIL lists 3/4 in detection for wood and metal, one-button operation, and — unusually — names lath, wallpaper, wood flooring and acoustic ceilings among the surfaces it works on. The four-stage light sequence with an audible beep is the nice part: you get a sense of approach rather than a light that is simply on or off.
Two things to know before you click. It needs a 9V battery that eOUTIL does not include — a meaningful slice of the price on an $11.59 tool. And it has no live AC wire detection at all, which for us is the line. If the wall might carry a circuit, spend the extra on something that warns you.
Live wire detection, and what it does not do
Every guide oversells this feature, so here is the careful version: live wire detection reduces risk. It does not make drilling safe. None of these tools sees everything.
There is a code rule working in your favour. According to summaries of NEC Section 300.4 published by ExpertCE, cable run through a bored hole in a wood framing member must sit at least 1-1/4 in from the nearest edge, and where that clearance cannot be held the installation requires a steel plate or bushing at least 1/16 in thick. The intent is exactly your situation: keeping wiring out of reach of the fasteners people drive into walls.
That is protection, not a guarantee. It assumes work done to code, and says nothing about the cable a previous owner stapled to the face of a stud. Drilling near an outlet or a switch is drilling where cables are certain to run. Kill the breaker for anything deeper than a picture hook.
Plaster, lath and other walls that defeat scanners
This is the most common reason a stud finder "doesn't work", and it is not the tool being broken.
According to Zircon, a stud finder needs the wall surface to have a consistent density level, and to be less dense than the wood stud behind it. Lath and plaster is the opposite by construction: Zircon describes plaster oozing through the lath to create curls called "keys", and says that keying "creates the inconsistencies that challenge stud finding technology", so these walls "will not always return accurate results". The reading you get is often real — it is simply a glob of plaster rather than a stud. Thickness compounds it. Bob Vila puts a lath and plaster assembly at about 1-1/4 in overall, against the 1/2 in of the drywall most sensors are designed around, which can put the stud out of a 3/4 in sensor's reach entirely.
So the honest answer on the best stud finder for plaster walls is that no capacitive scanner is reliable on it. What works is changing what you look for: Zircon says a wall scanner with metal-finding capability, or a dedicated metal scanner, may be used to locate the nails fastening the wood lath to the studs instead. Find a vertical column of nails and you have found a stud, indirectly. That is why the Povlen's 2.36 in metal mode is interesting in an old house, and why a plain magnet is a good companion on plaster. Zircon adds one caveat worth taking seriously: where metal mesh was used to help hold the plaster, even a metal scanner may not find the stud.
Other walls that will fight you:
- Double drywall, where two 1/2 in layers already sit past a 3/4 in sensor's rated depth, and 5/8 in Type X board, which the IRC requires between a garage and habitable rooms above it and which leaves almost no margin.
- Tile, stone or panelling over board, where thickness and uneven adhesive beds confuse a density reading.
- Foil-faced insulation or metal lath, where a conductive layer masks what is behind it.
On any of these, the technique that rarely lets you down is arithmetic plus a small test hole. Learning how to find a stud without a stud finder — outlet boxes, tapping, the 16 in rule below — is a genuine skill, and it rests on being able to use a tape measure like a pro from a fixed reference rather than from your last guess.
Confirming before you drill
Whatever the tool says, confirm it. Three checks, ninety seconds.
Check the spacing. According to the Building America Solution Center, wood-framed houses have traditionally been built with 2x4 studs spaced 16 inches on-centre, and the same source notes that research has shown exterior framed walls can be adequately supported by 2x6 studs at 24 inches on-centre — the advanced-framing spacing you will meet in some newer builds. Both figures divide evenly into the 48 in width of a sheet of drywall or plywood, which is why they stuck. Once you have found one stud, measure 16 in along the wall and scan again. Hits at 16, 32 and 48 in mean a framed wall; a hit at 16 in and nothing at 32 in means your first hit probably was not a stud. Hook the tape on the corner rather than on your pencil mark so errors do not compound — more on that in how to use a tape measure like a pro.
Start from a known stud. According to Bob Vila's guide to finding wall studs, most electrical boxes are fastened to the side of a stud, so pulling a cover plate and looking at the gap around the box tells you which side the framing is on. From there, work outwards in 16 in intervals.
Mark the centre, not the edge. On an edge finder, mark both edges and drill the midpoint; on a Franklin, the lit block gives you the centre directly. Aim for the middle of the stud face, which on a nominal 2x4 dressed to the PS 20 lumber standard is 1-1/2 in wide — catching the edge is how a heavy mirror ends up on the floor with a strip of drywall attached.
Which is the best stud finder for most DIYers?
Buy the Franklin ProSensor M150 at $39.97 as of August 2026. Nine sensors, 1-1/2 in of depth per Franklin, no calibration step and a live wire warning cover every job a homeowner in a drywalled house will ever do, and between them they remove the sweep-and-guess routine that makes people distrust their own tools.
Step up to the Franklin ProSensor M210 at $59.97 as of August 2026 if your walls are thick, double-boarded or heavily skimmed — that 1.7 in deep scan is the only figure here that comfortably clears them. Take the Povlen 5-in-1 at $23.99 as of August 2026 if deep metal detection matters more than stud width, and the Craftsman at $11.99 as of August 2026 if you genuinely hang two things a year.
A stud finder only works as part of a set: something to find the framing, something to measure it, something to prove the line is level. For the rest of that kit, read our complete measuring and layout tools guide — and if levelling is the harder half of your next job, the best laser levels for home use covers what belongs beside it.
Frequently asked questions
Is a magnetic stud finder good enough on its own?
For a light picture on modern drywall, often yes. Magnetic finders locate the ferrous screws and nails holding the board to the framing, need no batteries and rarely produce a false positive. But they inherit every mistake the drywall crew made, cannot tell you how wide the stud is or which side of it you are on, and give no warning about live wiring. Use one to confirm an electronic reading, not as the only tool in the drawer.
Why does my stud finder beep where there is no stud?
Usually one of four reasons. You calibrated it while sitting over a stud, so its idea of "empty wall" was wrong from the first second. The wall has uneven density — plaster, a patch, a thick texture coat. Something behind the board is not a stud: a pipe, a duct, a cable bundle, a blocking piece. Or the sensor is at the limit of its depth and reading noise. Multi-sensor tools remove the first cause entirely, because Franklin's design needs no calibration pass at all.
About the Author
Cheryl Thompson
Cheryl Thompson is the tools editor at The DIY Tool Review. A lifelong fixer and self-confessed tool addict, she has spent years buying, borrowing and wearing out hand and power tools across home renovation, furniture building and everyday repairs. She writes hands-on, no-nonsense reviews to help fellow DIYers spend their money on the tools that actually last.